We made sure that we stacked 5 layers of logs above mezzanine height in order to guarantee a reasonable standing height for our loft. We reached the last layer with much anticipation and also trepidation, as we were not quite sure how level this last layer was. We were very aware that it needed to be perfectly horizontal in order for our roof trusses to fit and align with each other. With our home-made spirit level made out of a 15m transparent aquarium pipe we proceeded to measure our levels from one corner of the cabin to the next……and to our relief found that from the north east corner to the south-west corner we were 18mm out! We couldn’t believe it! As the last layer of logs of the two pairs of longer walls needed to span a length of 2m and 3m on the west and east side to accommodate a big enough overhang and veranda respectively, we needed two 15m logs, which we did not have. We thus spliced two logs together to solve that problem.
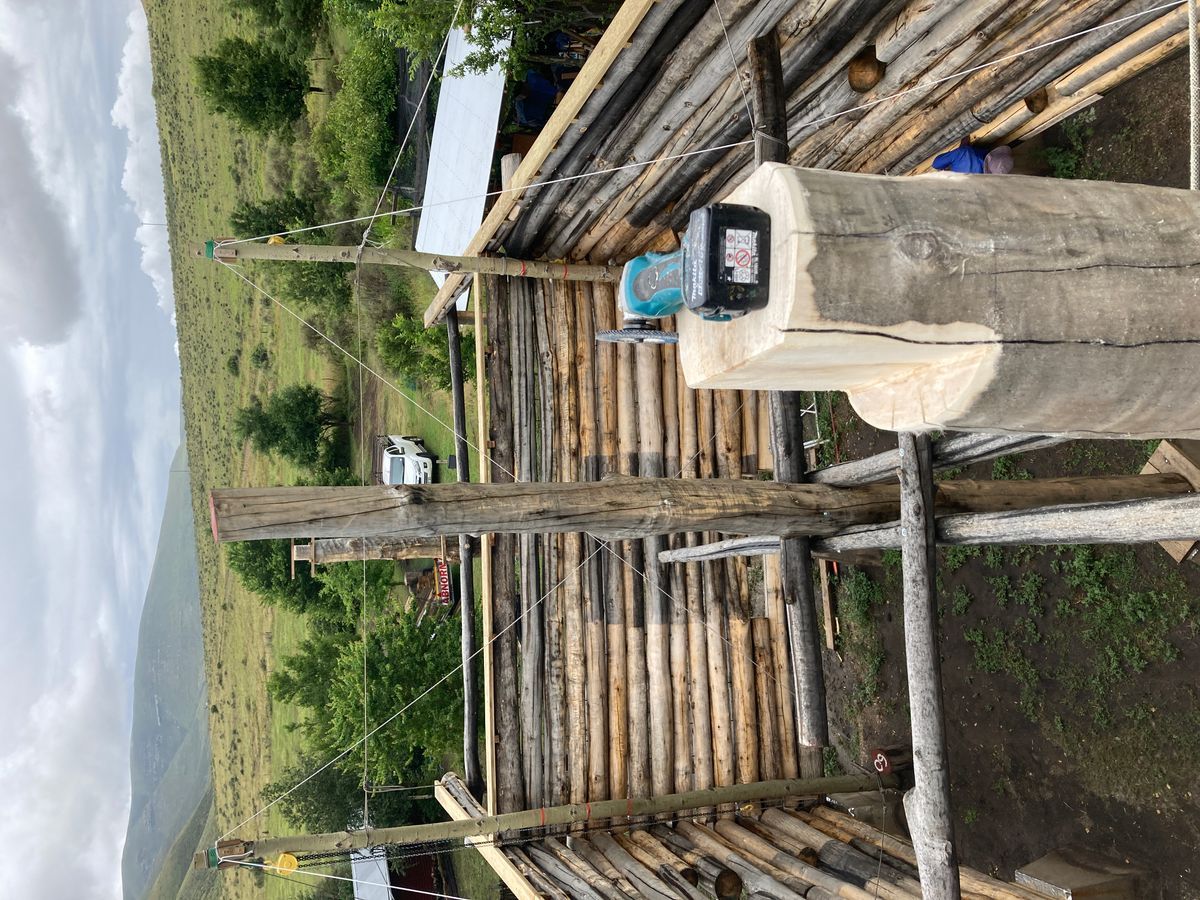
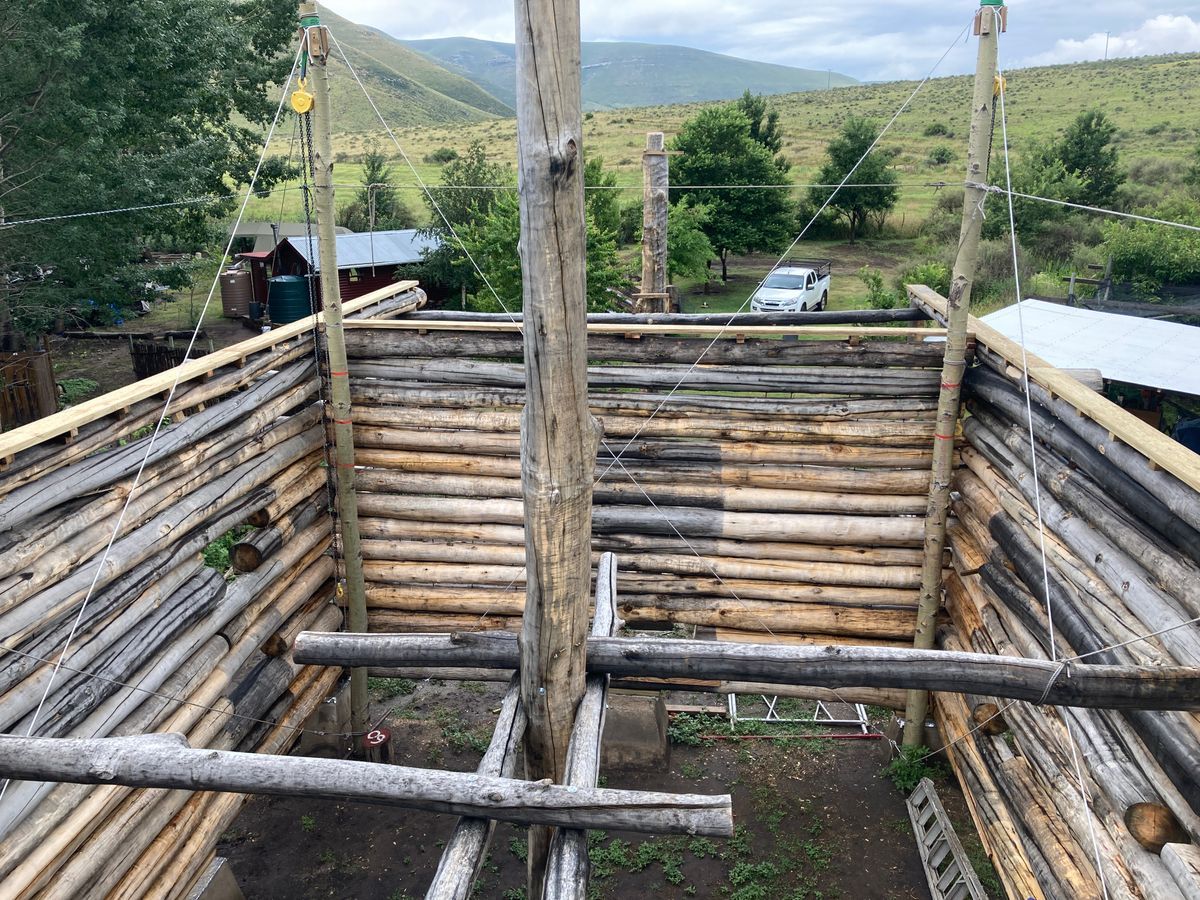
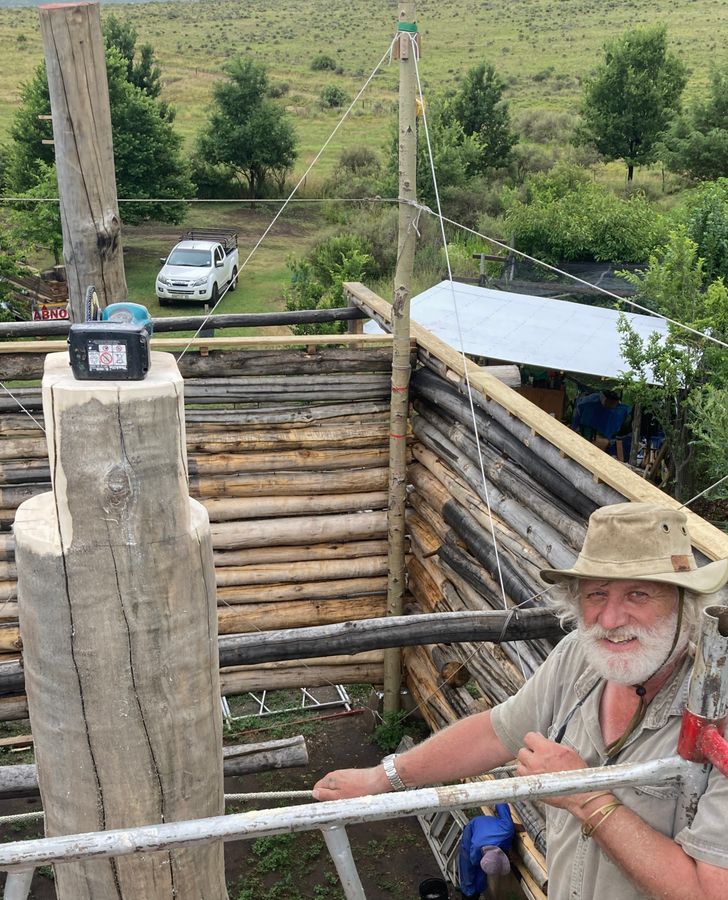
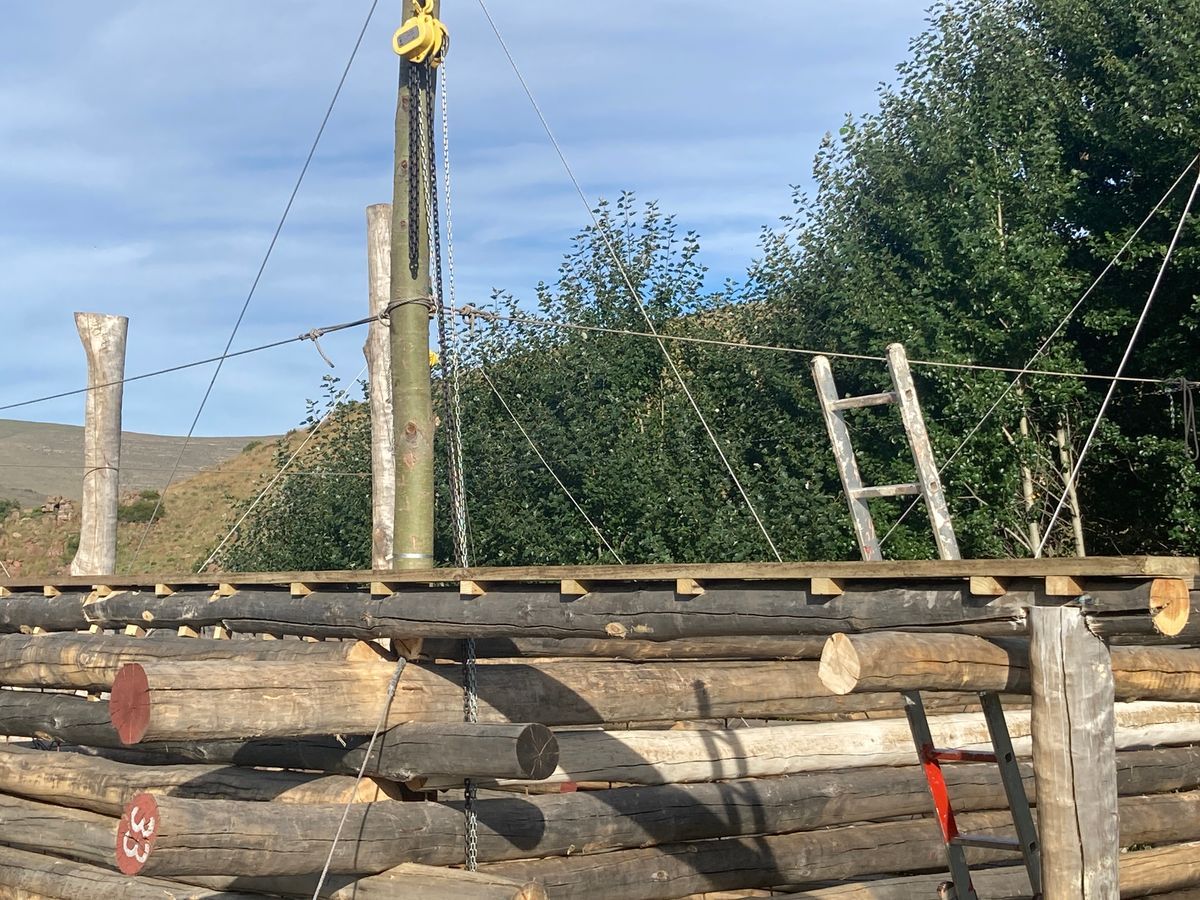
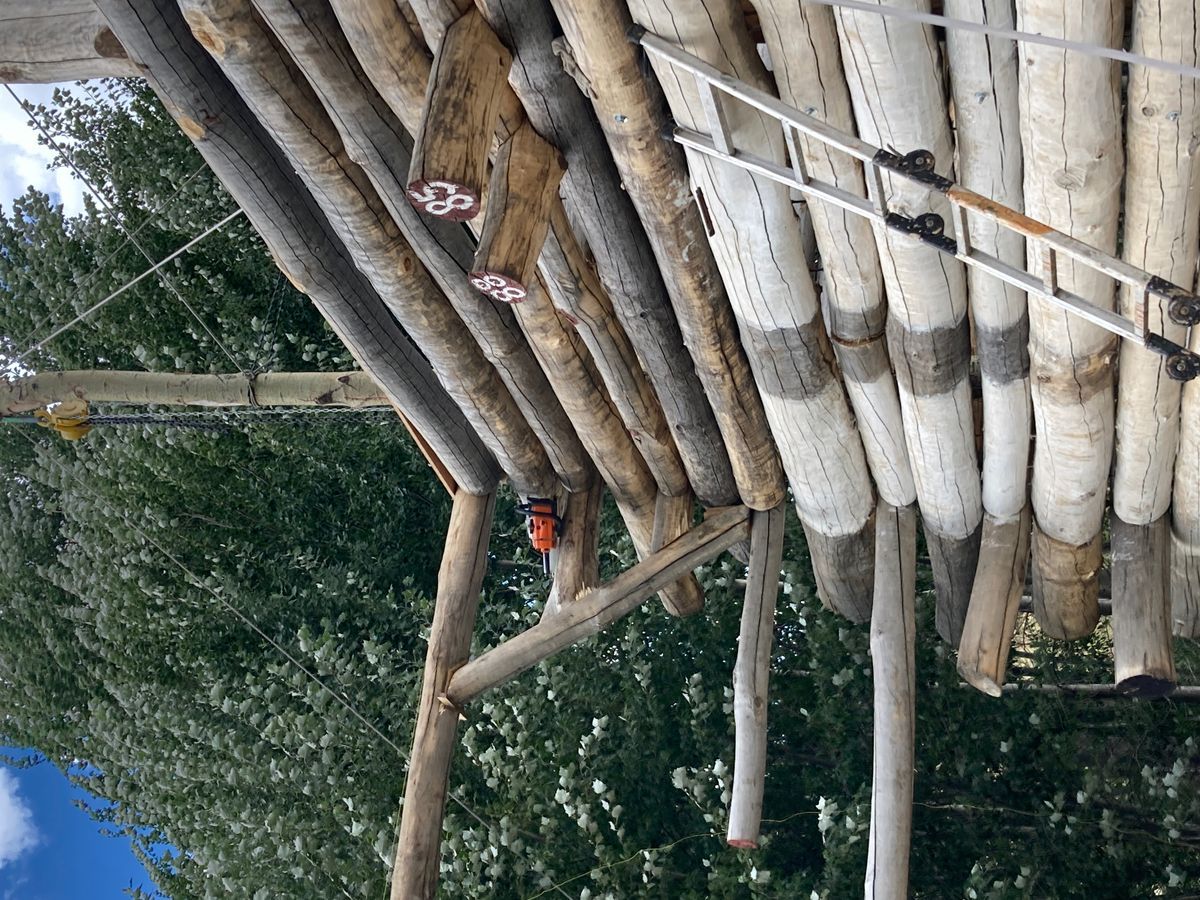
The stacking of our logs is complete!
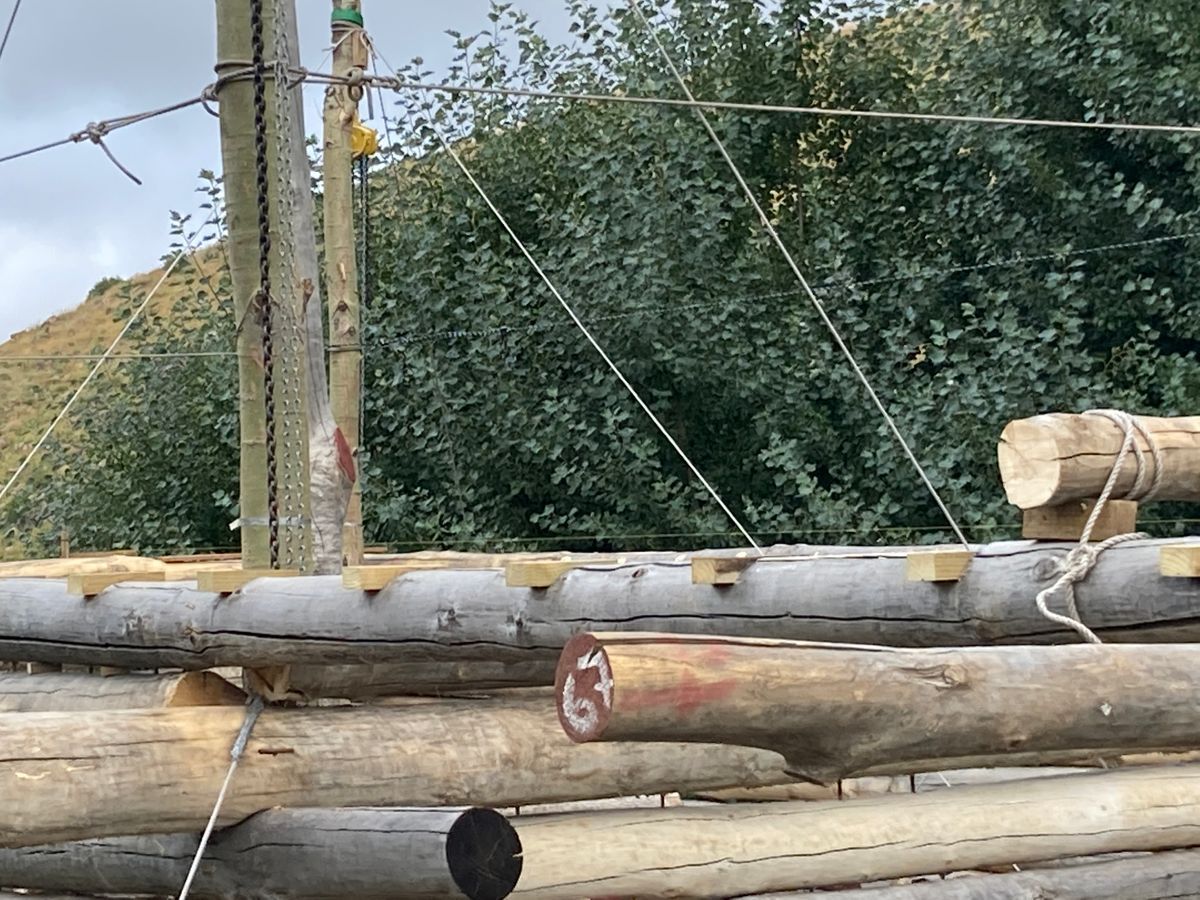
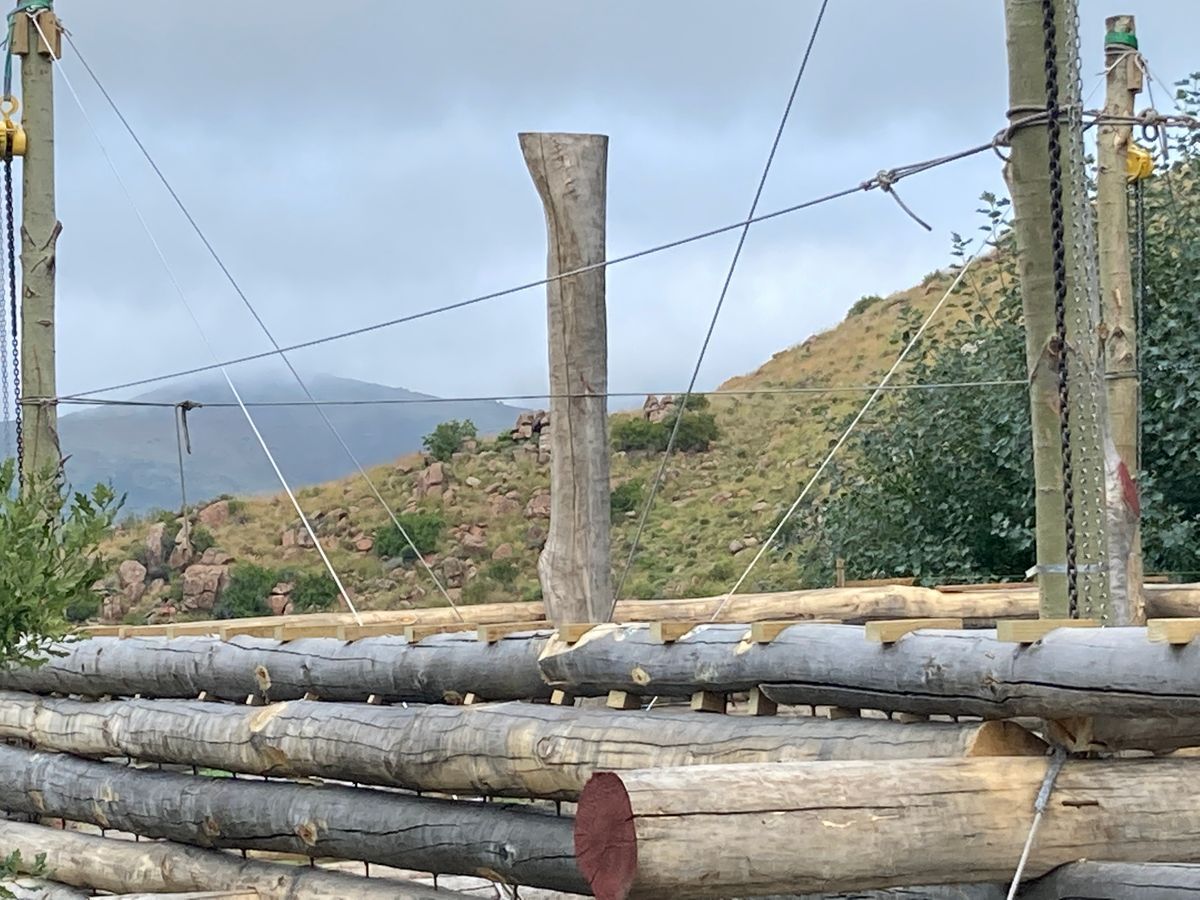
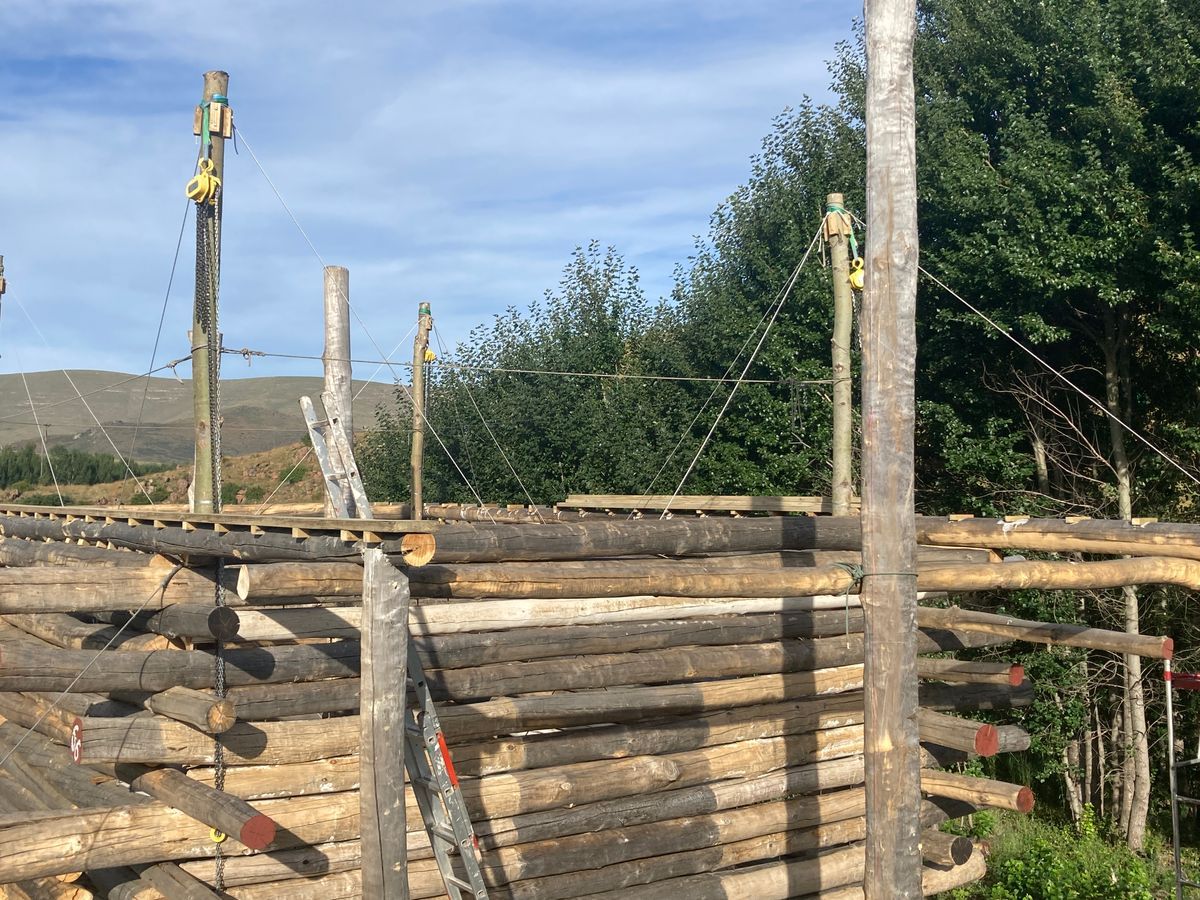
Whilst stacking our mostly irregular logs for our walls, it dawned on us that using poplar logs for our roof trusses would be very difficult and awkward. We thus made a significant decision which deviated from our original log cabin idea and decided that we would use 50x228mm pine timber instead for our trusses. This however meant that we needed a perfectly flat and horizontal wall plate along the top of all four walls, ie along the top layer of logs. This we achieved by making blocks of wood which we fitted into the top layer about 600mm apart ensuring that the top of the blocks were perfectly horizontal. Our wall plate that we then placed and screwed down on top of the blocks also consisted of 50x228mm pine timber.
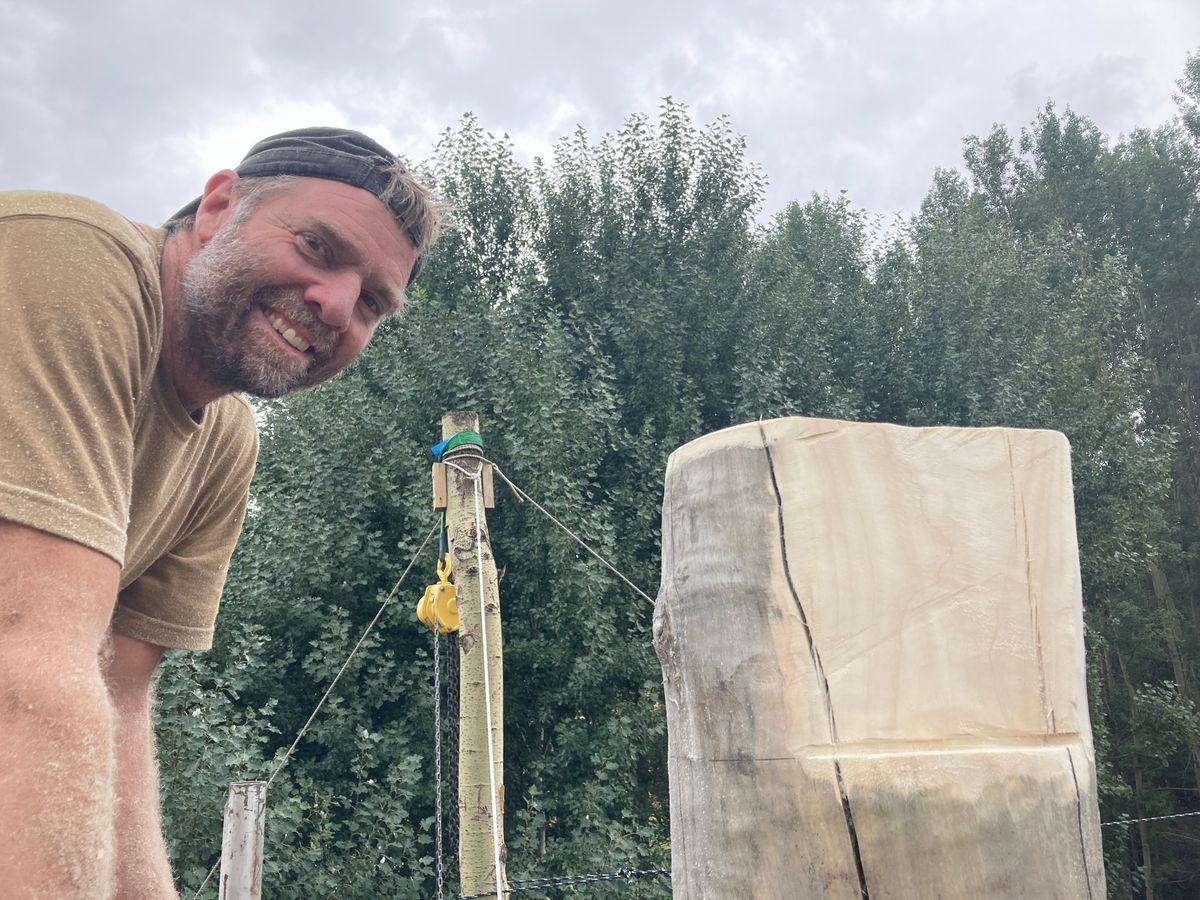
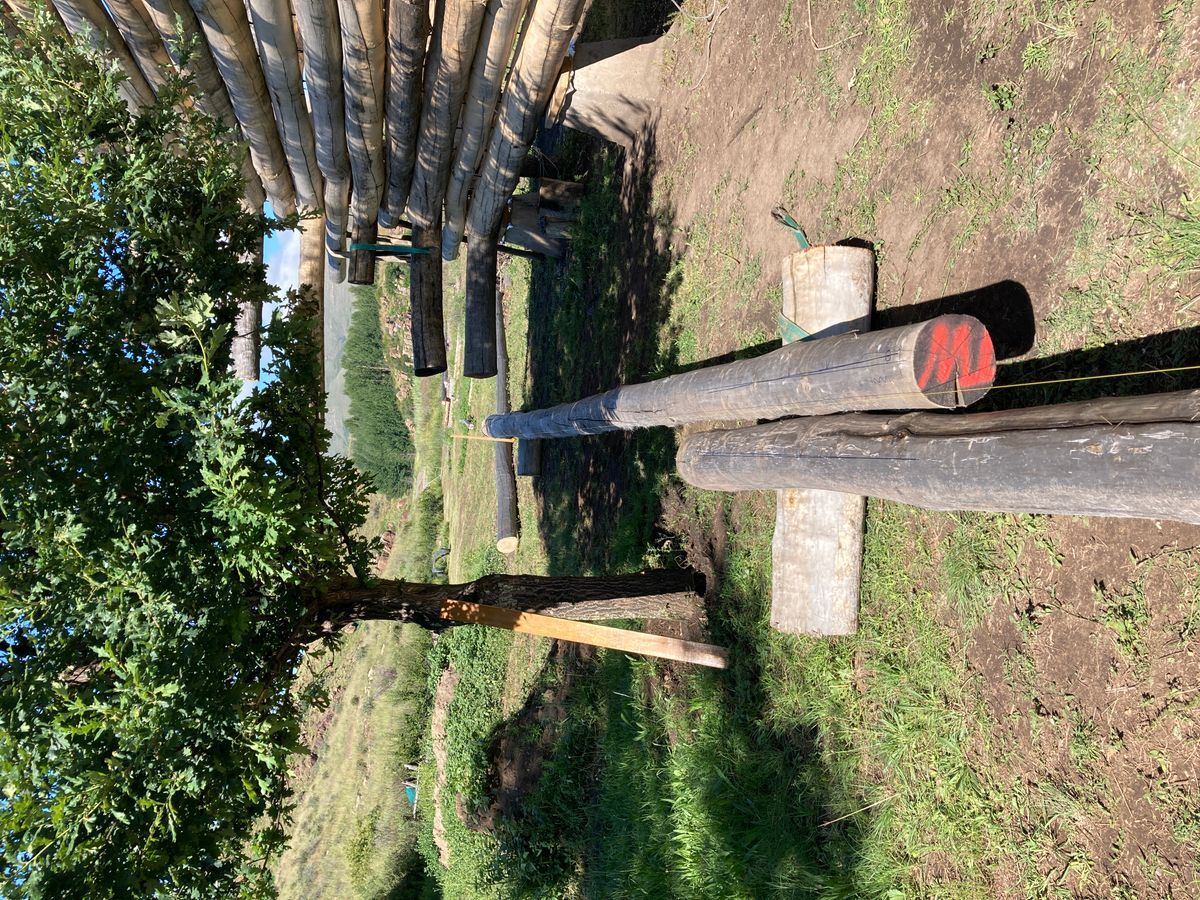
In between building we also scraped the logs clean. The spaces where windows and doors are going to be placed we did not scrape - hence the dark patches.
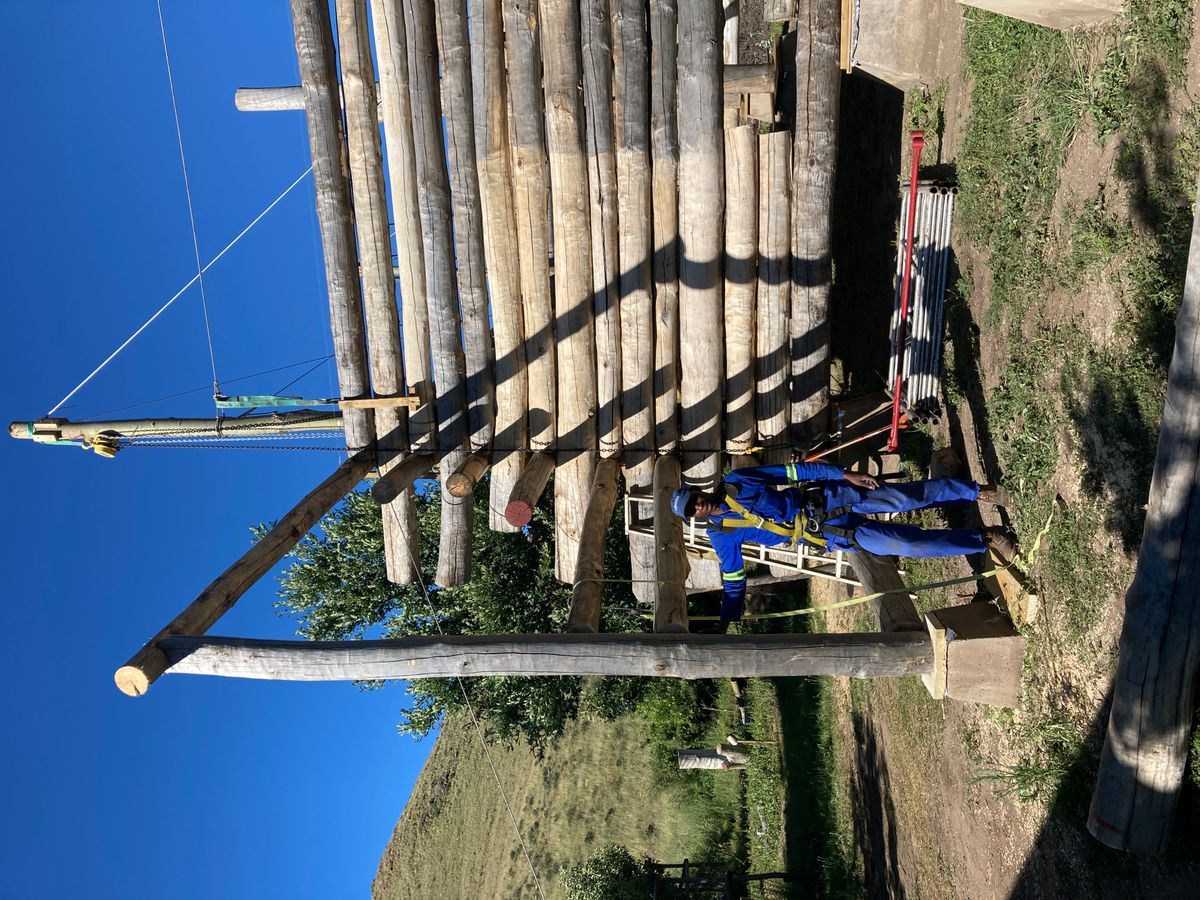
Once the wall plates were screwed onto each top log and formed a precise rectangle we were then able to measure exact dimensions for the construction of the roof trusses. In parallel to that we also prepared the vertical poles for the construction of the central ridge pole or ridge truss.