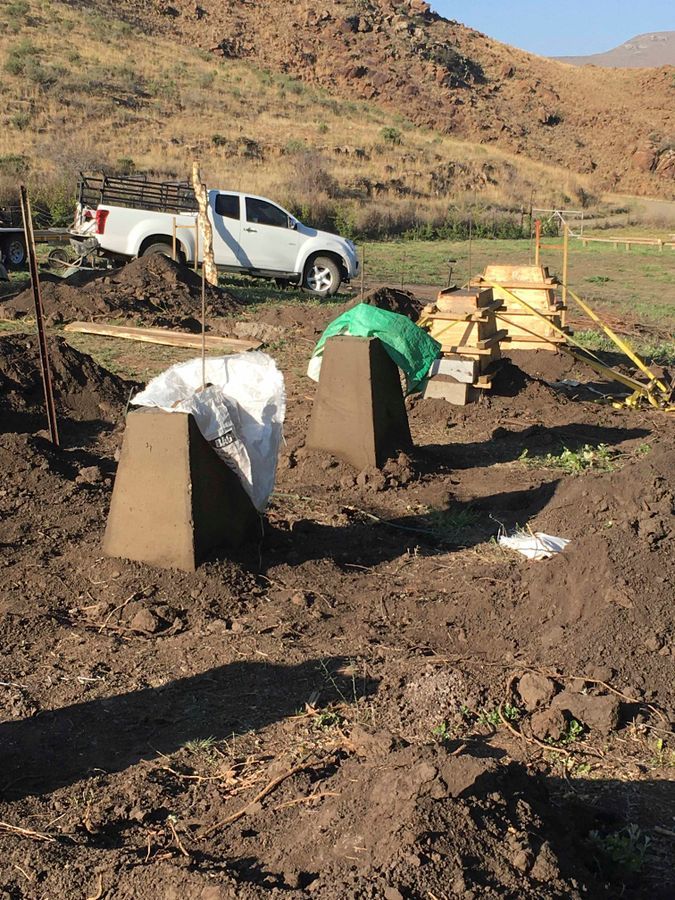
This is simply a pyramid with its top cut off parallel to the base. To be precise each pillar was a truncated square (or rectangular) pyramid. The top and bottom faces are non-congruent squares (or rectangles) and the sides are four trapeziums. Calculating the volume of a truncated pyramid is a very neat and interesting exercise – if you’re interested we can discuss this over e-mail.
We constructed three types of truncated pyramids:
- small truncated square pyramids for the veranda;
- big truncated square pyramids to hold the four vertical tree trunk posts that hold up the roof structure;
- medium truncated rectangular pyramids to hold the horizontally laid logs for the walls and accommodate our butt-and-end design.
The specs for our 1200mm high pillars were:
- two small truncated square pillars: top square = 300 x 300, bottom square = 600 x 600
- four big truncated square pillars: top square = 600 x 600, bottom square = 1200 x 1200
- eight truncated rectangular pillars: top rectangle = 300 x 600, bottom rectangle = 600 x 1200
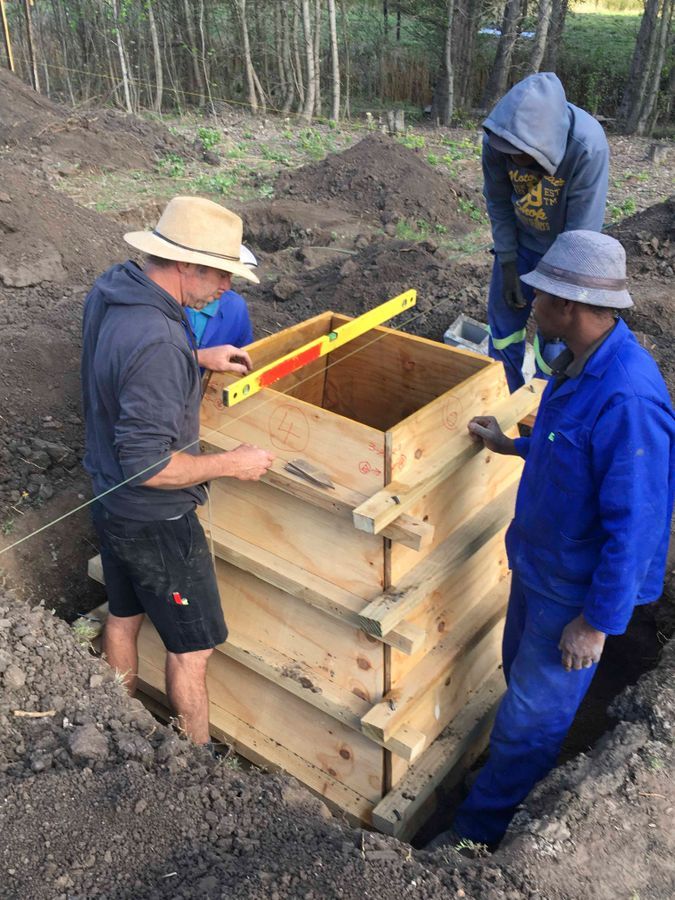
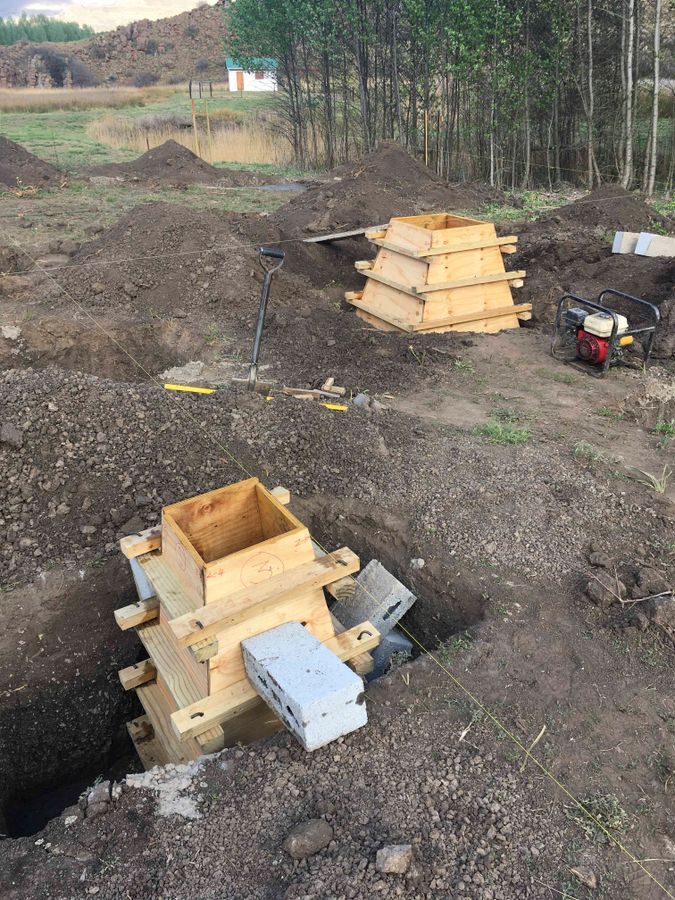
For each of the moulds we used 18mm shutter plywood to construct the four interlocking trapeziums for the sides. They were so designed that out of one small and one large truncated pyramids we could also construct two rectangular pyramids.
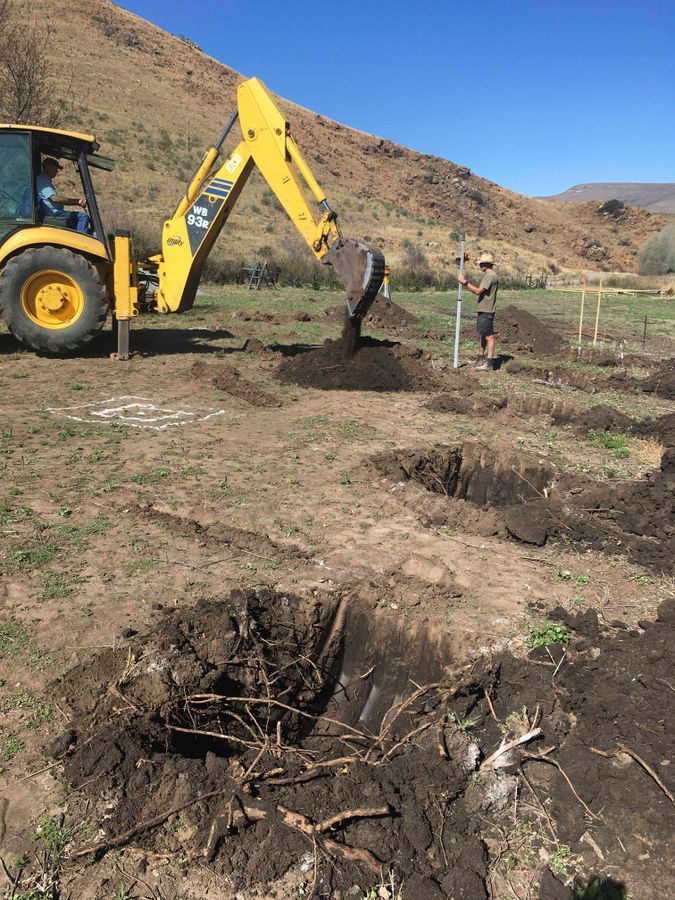
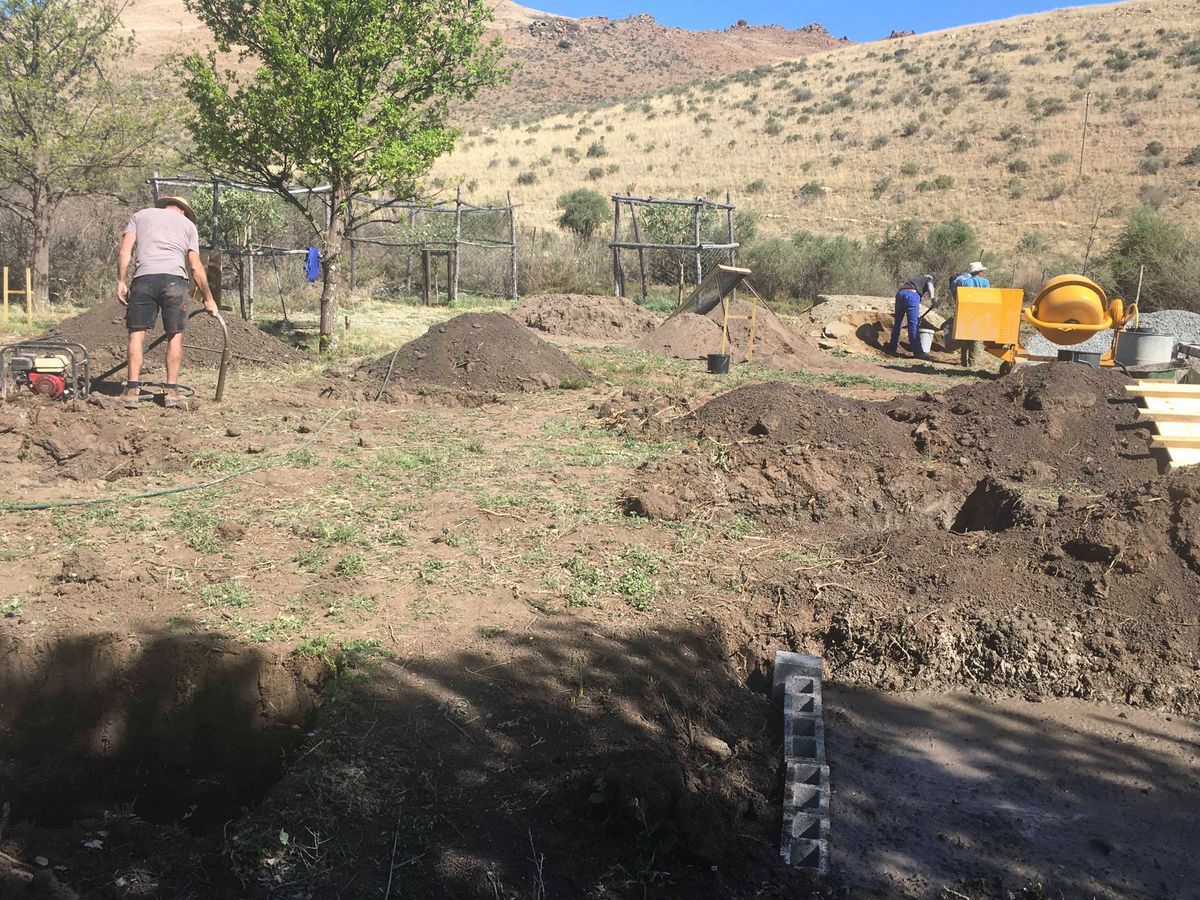
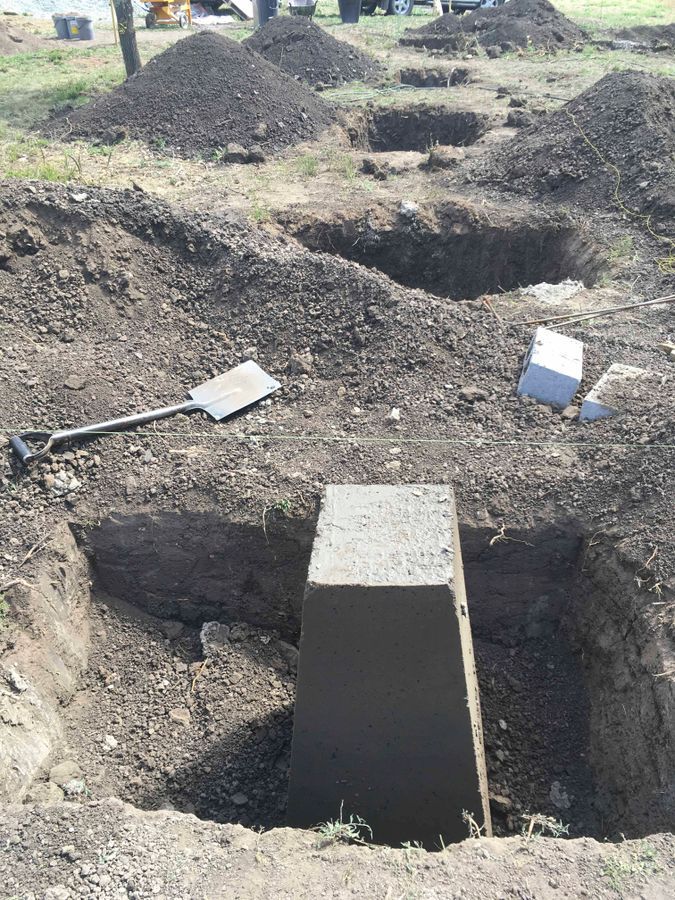
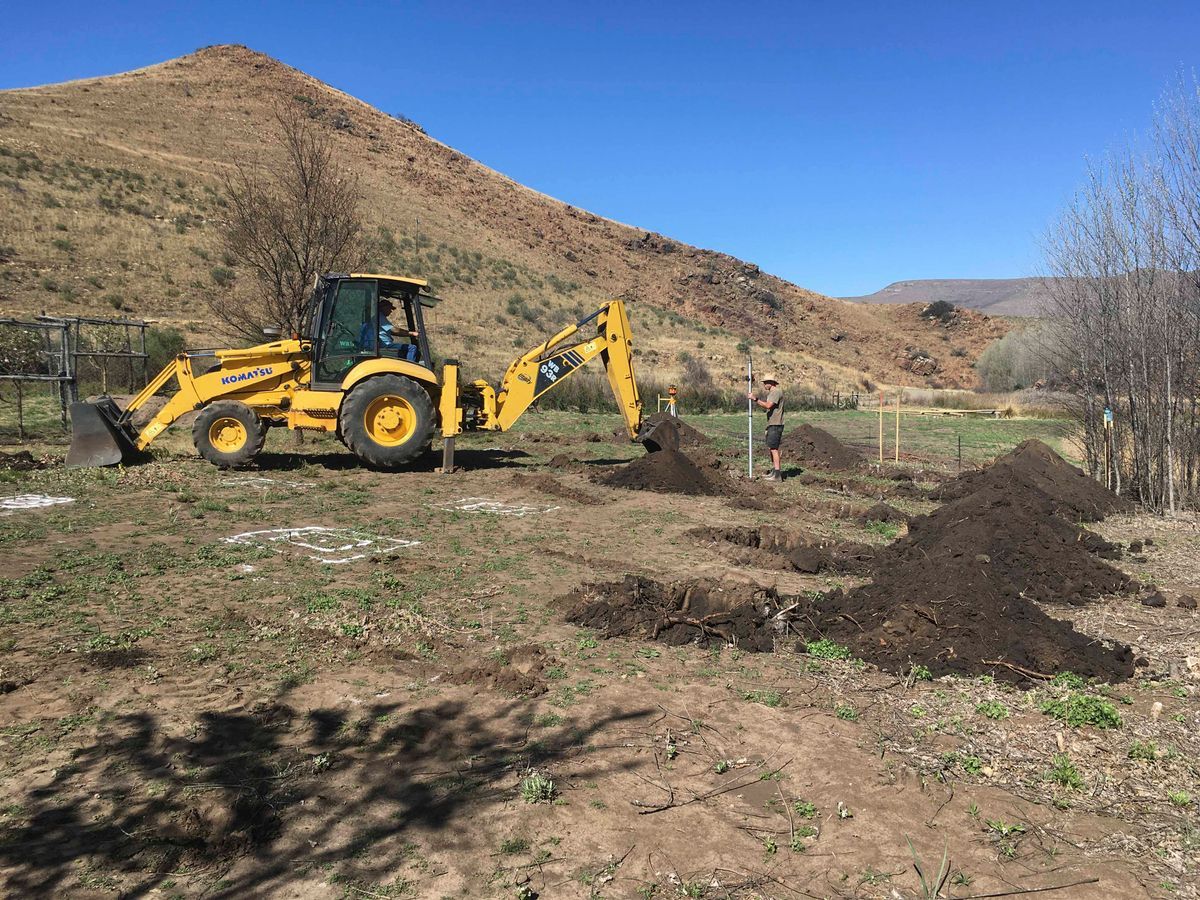
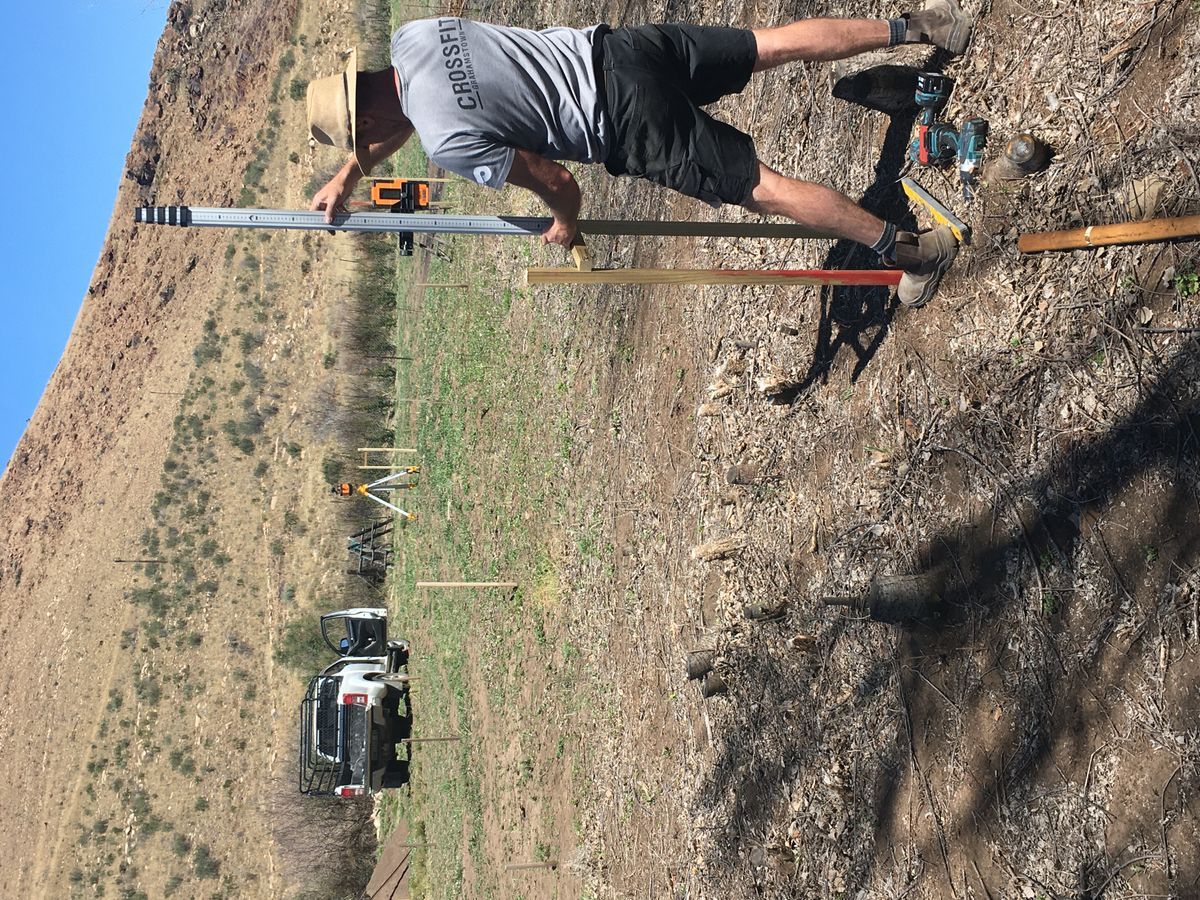
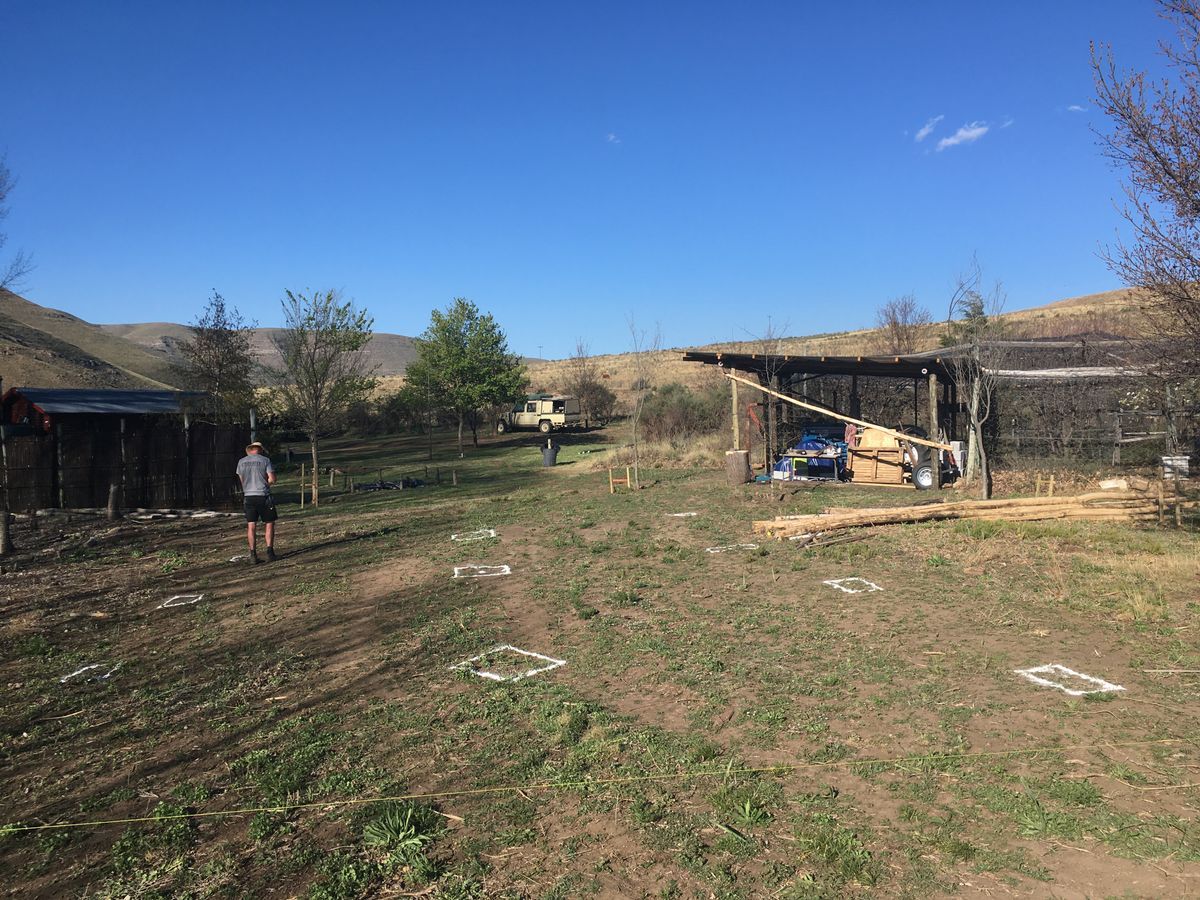
Before Johan from next door kindly dug our 14 holes with his TLB, we carefully measured and laid out the rectangular ground plan of our log cabin with each hole carefully marked out. The dug holes were then squared off nicely by hand. To ensure that the holes were of equal depth, we used Simon’s clever laser level to assist us. We also used this device to precisely level off all our 14 foundations at exactly the same depths, in order that our moulds were at the same heights and had perfectly horizontal foundations to rest on. Then the mixing and pouring began……and we were flabbergasted by how many wheelbarrow loads of concrete each mould devoured.
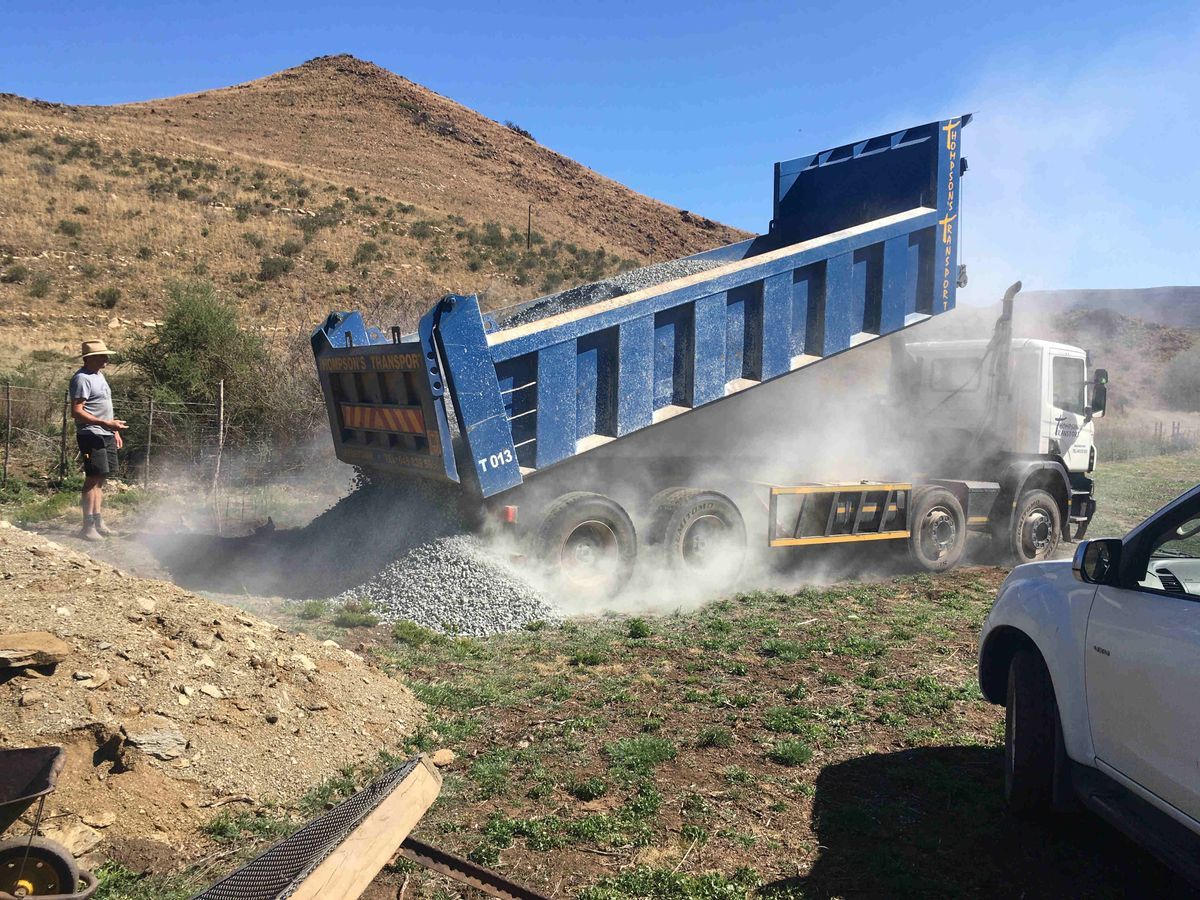
For the concrete mix, the 19mm stones were sourced from Queenstown quarries, the cement from Build-It, the sand from our river bed and the Sabunga (broken down dolerite) from our small road quarry nearby.