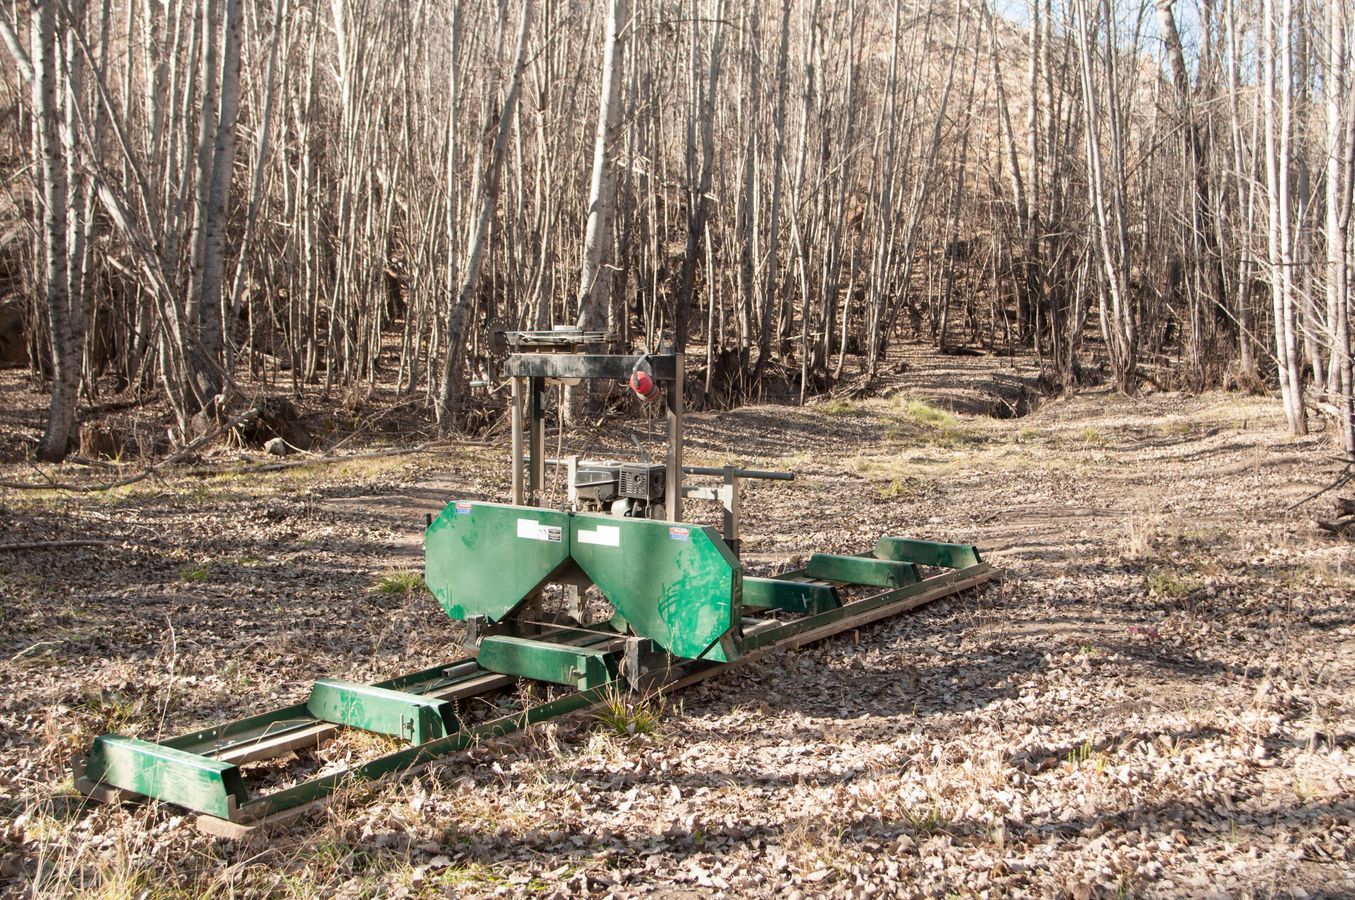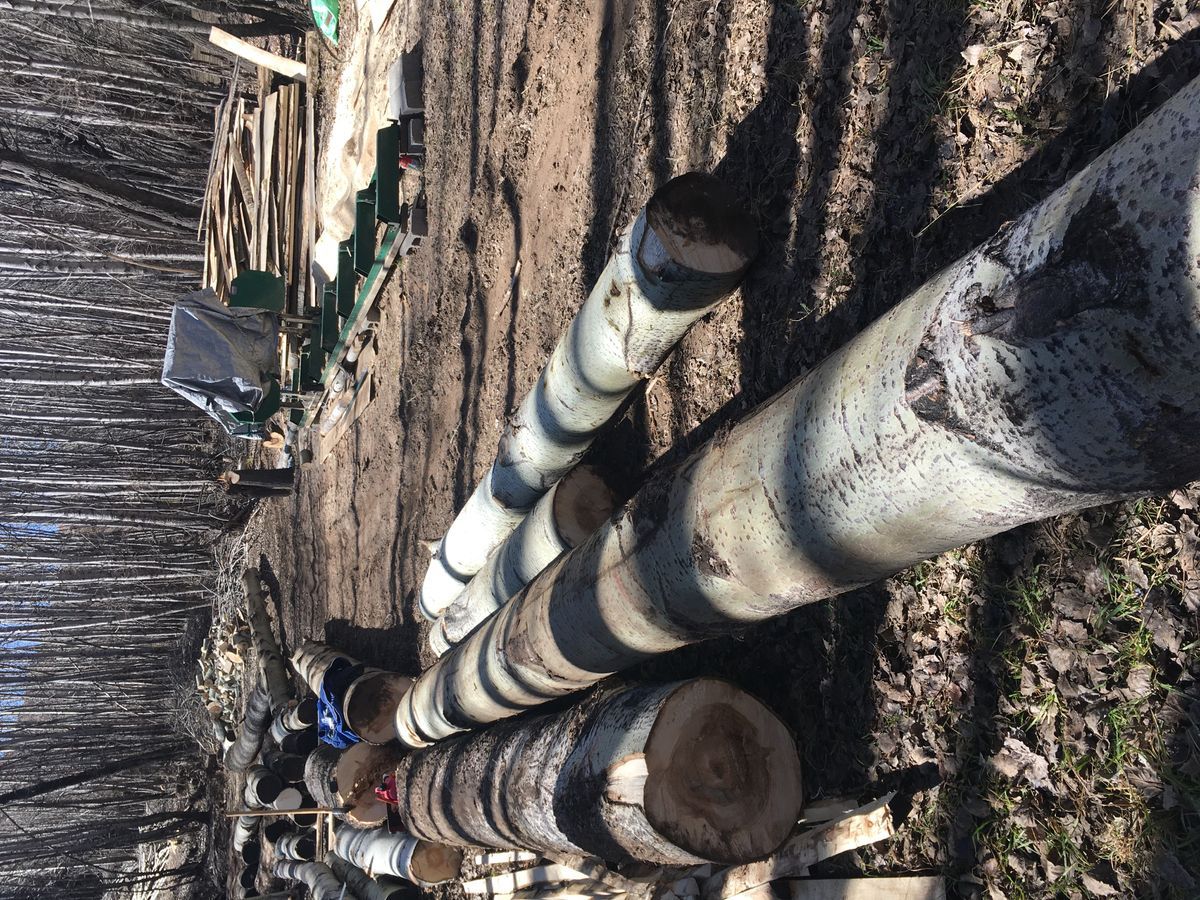
We had already identified a good site in one of the poplar groves on our property. Once we levelled the sawmill properly we rolled on our first tree. We built a small ramp made of two poles onto the saw rails to make it easier to roll a log onto the saw with our cant hooks.
After some trial and error our planking routine basically consisted of:
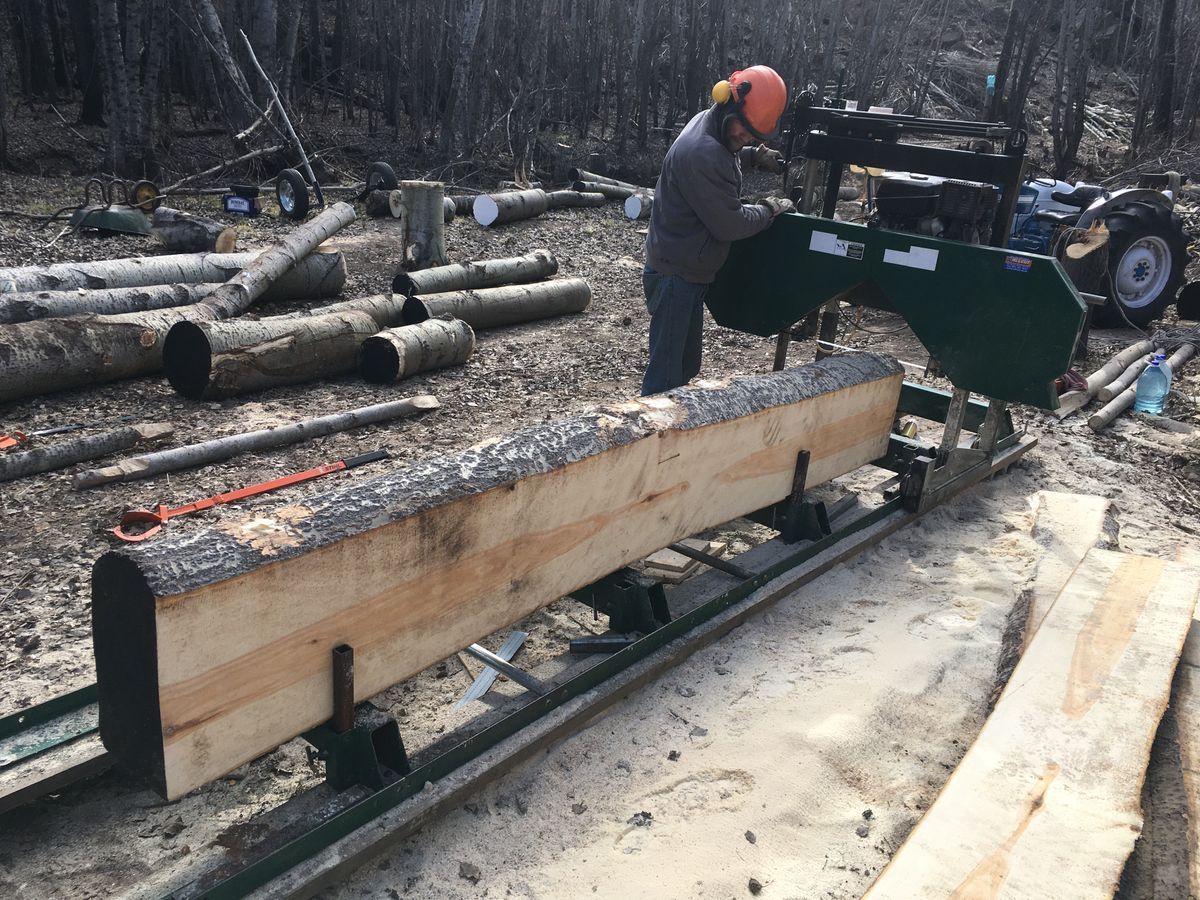
- Ensuring our log lies on the rails with the upper side more or less horizontal. We us wedges to position our log to the optimum position.
- The first cut was then made.
- We then turned the log 90 degrees with this flat side against the uprights perpendicular to the rail.
- We then made the second cut.
- We then turned the log 90 degrees again. This time the log rested on a flat side and our third cut was perfectly parallel to the first side.
- We then turned the log 90 degrees again with the last rough side facing the blade.
- We sliced the rough side off and then began planking with successive passes of the saw with our desired thickness.
Immediately after planking a log, we stacked the cut planks onto our trailer ready for transfer to our drying site. This site consisted of a flat area in the garden of our little mountain cabin.
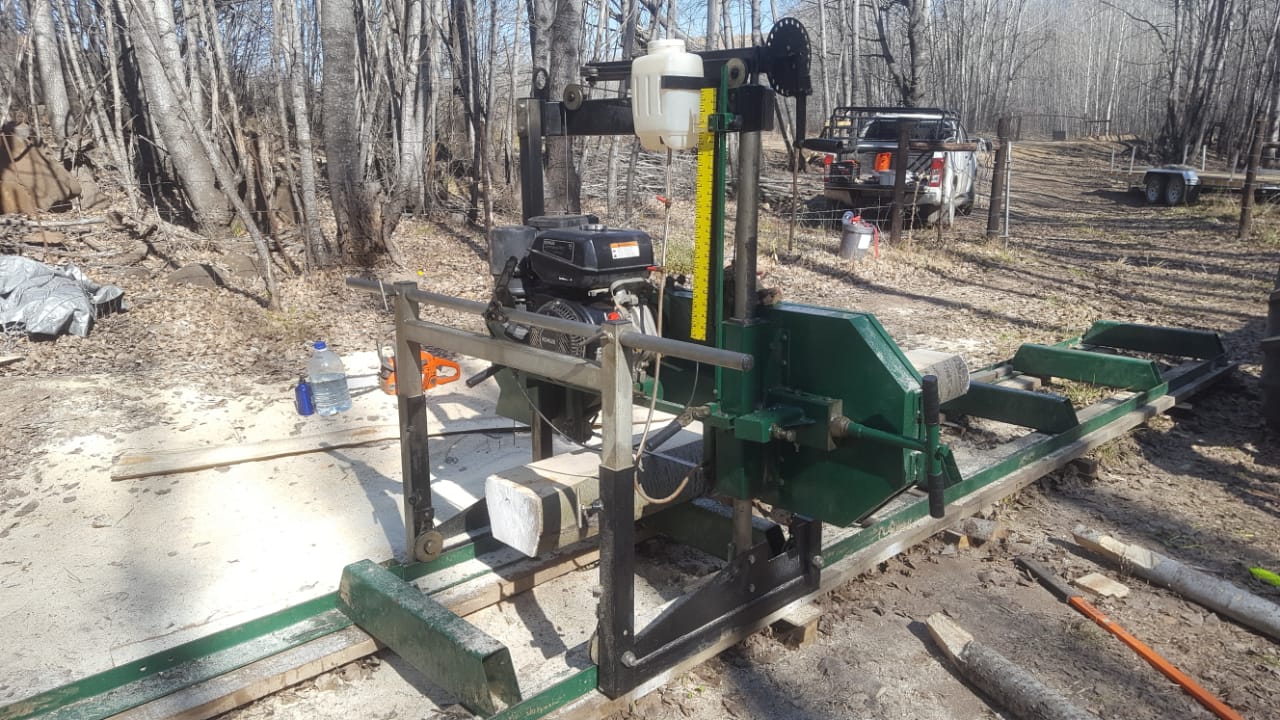
We had four spare blades with us, but soon realised that this was not enough. The blades lasted for about 4 hours before needing sharpening. It was our good fortune that Albert from Tarkastad was felling trees in the area and he let us use his blade sharpening machine to regularly sharpen our blades. We had some more blades sent to us from Johannesburg to make sure that we would never run out of sharp blades. We soon realised that a sharpening machine is a necessary accessory to any sawmill.
Depending on the size of a particular log we cut planks of either 25mm, 30mm or 40mm thickness.